Friday, October 31, 2014

Hinges, hinges, hinges...

The most annoying thing in the world has turned out to be hinges. No, the casual observer might not notice the subtle evil radiating from these two-piece tail-turners, but when faced with the seemingly simple task of filling their function in connecting a lid to a case - real devils!

In the post at present being posted, the strains suffered in constructing the lid of the Detectron case will be described. It would be pleasing to say this is to warn future Detectron modders, but in honestly the aim is rather to alleviate post-traumatic stress, and, boast a bit.

Hinges, as many things in the physical world, need to be attached to something to work properly. As a first suggestion, an attempt was made to attach them to the Detectron case on one end, and to the lid on the other. Therefore a backpiece was made (more pics here).


This beautiful backpiece with it's extremely tight fit, did not work however, because of curves. The lid as well as case is sporting curved corners, which is pretty, but also means that in combination with the aluminium frame, the revolving axis of the lid needs to sit further out from the top. Therefore, exit beautiful backpiece, and enter second backpiece.


Having renewed faith in this backpiece, the hinges got semi-properly attached by screw, and a quite nice case fan grill and mount was made on the back of it. Careful testing of the function was made using the lid and double sided tape. It seemed to work. So, the only thing left was to glue on the lid.


Gluing plastic on plastic in a cold garage did not work. At least not in the half an hour stipulated in small print on the all purpose glue. Wait - plastic on plastic? Yes, since the hinges are not even, a small spacer was needed to get a flat surface to glue onto the lid. Since this spacer needed to be as small a possible for the lid to open properly, it was decided that the lid of an old ice cream box was just about thick enough. It wasn't. Or at least, didn't stick. Ok, but these things are easy to fix. With some thinned down wooden spacers, and all gluing surfaces sanded to maximize gluing strength, glue round two began.


This time it worked. That is, the gluing of the hinges to the lid worked. The lid, however, did not in any way accept working as a lid. Instead, it folded nicely from the open position all the way until getting stuck by 2-3 mm on the aluminium frame. Curses unmentioned, no conceivable modification could be thought of to fix this issue, except loosening the hinge-backpiece screws quite a bit to allow more freedom of movement. That gave an extremely rattely feel to the entire thing, as was abandoned as way too unsatisfactory.

What now?

Time to start over of course! Off with the cursed hinges. Now the backpiece is sort of redundant, but because of the nice work with the case fan, it will stay for show.

The major fault of the tried hinges was that the revolving axis got too far away from the lid plane. But how can this be solved? Well one way is of course to construct something hinge-like from scratch. This plan involved putting two small nails into the lid to make a new revolving axis, and let this rest on some metal construction on the case. For attaching hinge-like nails to the lid, the go-to method is naturally: gluing.


Perfect. On the case, something now needed to hold these nails up so the lid turns nicely when opened, rather that falling directly onto the motherboard. At first, simply gluing some holders made from the same ventilation grill as used for the air holes was considered. But this solution made it very hard to completely attach and detach the lid when needed, and in effect made it impossible to get the revolving axis completely in line with the closed lid. Therefore, a more flexible solution with adjustable holders was implemented.


Glorious? Yes indeed.

Is this it? No way.

This solution has the downside that since the case is now a bit smaller, getting the lid nails in and on the supports is theoretically impossible. Practically it works with a little force. Since people live in the real world rather than the theoretical, that would have been acceptable if it weren't for another fact.

The. lid. still. doesn't. close.

It turns out that the newly added hinge-supports on the case collide with the thin pieces of wood glued onto the lid to fasten the nails. Right. But since case modding essentially is all about gluing stuff on lids, why not make one last round?


Since it's about time to wrap up and stop ranting, let's just look at these:


Thanks, and good night.

Power interface

The interface for connecting external power was mounted. To make the hole a number of small hole were drilled, followed by a whiles filing and carving to get a perfect size.


Air holes

Some scary sawing was done, during which the awesome oscillatory saw broke down to much dismay. Must have been a poor sample. Grill were glued on, and now there is only one last air outlet to make.


Case fan mounting

The case fan will be mounted under the handle on the top of the Detectron case. With the plan to add hinges to the Detectron lid, space was vary scarce, and the case fan needed to be situated all the way to the backside of the case. To support both hinges and case fan, a very satisfactory wooden backpiece was constructed.


However, this turned out not to work at all for mounting the hinges, as the revolving axis needed to be further in than what this construction allowed. Hinges are terrible things, that will be painstakingly described later. There was nothing else to do than to scrap this nice one, and make a new version of the backpiece. The fan will be mounted directly on the grill using four longer bolts, and eventually using nuts instead of a rubber band.


Scavenging

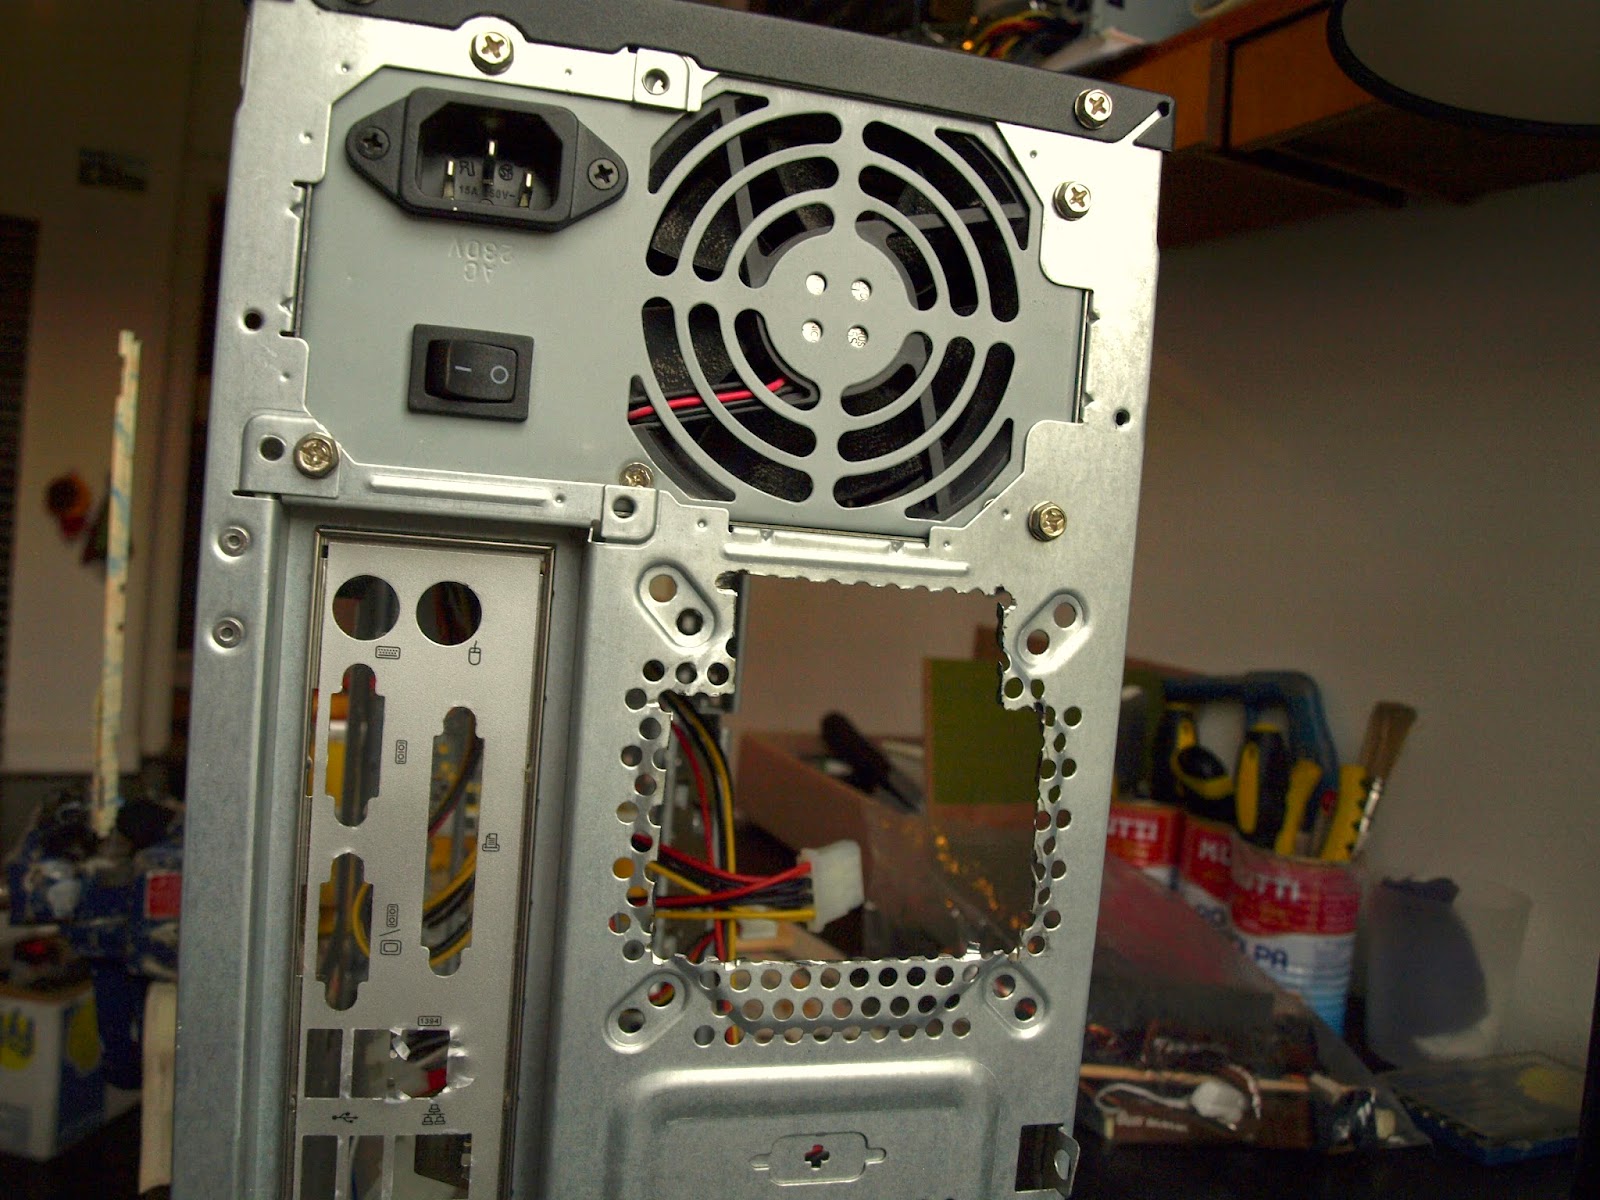
To get grills for the necessary air holes in the Detectron computer, the angle grinder was once again brought to play. The largest grills were cut off from the spare parts computer case that is lying around for Detectron transplantation. Further, the last potentiometer and speaker were removed from the Detectron lid.


Monday, October 20, 2014

It's alive!

Way too much time has passed since Detectron component arrival without testing that the ordered components actually work and add up to a computer. In this post, everything is hooked up for a quick test-boot or two. In this Frankensteinian construction, a rubber band was used to attach the chassifan to a piece of wood, that also got the honor of balancing the harddrive.


Since the case is yet to be done, one very important thing is missing: the power button. A power button for a modern computer is however nothing more than a fancy way of closing a circuit for half a second, or however long you take to push it. Thus, a power button can easily be faked by for example a screwdriver briefly touching the correct two pins on the motherboard. Yeah!


Beeeep.


Happy Detectron owner! While showing the boot setup, the Detectron fans did not make a sound, and CPU temperature was at a steady 33 °C.


power supply unit mounting

The following post contains one of the weirder solutions so far in the Detectron computer case construction. Even though the power supply unit (PSU) is one of the smallest on the market, fitting it into the Detectron case which is only 62 mm high has caused unhealthy amounts of pondering. A normal person would perhaps argue that fitting something which is 40 mm into a 62 mm slot should be within the range of the plausible, but the problem arrises when also considering the I/O button electronics that also need to sit in this space. On top of the PSU. Let's see how this has been solved.


Apart from requiring a slim mounting solution when mounted, there is also the issue of actually performing the mounting. In a regular computer case a PSU would be slided in into a perfectly sized compartment along the longest axis, and then screwed into place. However, with the PSU orientation needed in this case, the screw-holes of the PSU will be completely blocked - and it needs to go in from the top. To solve this, something very unorthodox has been done. First a holding point was created on the bottom of the case using two pieces of wood that were painstakingly carved to cradle the PSU. These were glued onto the case, but not until a strap was sewn (yes, sewn!) and attached to them, to a tightly as possible hold the PSU down and fast against the case floor.


 This gave an extremely slimmed solution, which nevertheless fixates the PSU in all degress of freedom. Please inspect below! A scrap-salvaged old-school PSU power cable can also be seen.